How to configure AWS Elastic Beanstalk to scale | AWS Elastic Beanstalk Survival Guide
Configuring your elastic beanstalk application to scale
In this chapter, we are going to explore the configuration settings that you should adjust to achieve scalability.
So what do we mean by scalability?
It is the capability of a system to handle a growing number of work.
If the configuration for your Elastic Beanstalk environment is set wrongly, having a load-balanced, auto-scale environment type will still not scale properly, hence hindering performance.
Before we begin, you should note that different type of applications require different amount of scalability. So the tutorial below is not a one-size-fits-all strategy.
For example, a web application that streams and broadcast live news needs to have high availability and a memory-optimised instance. Compared to a web app that does picture filtering, it will require an instance with stronger computing power.
Save $$ on your staging environment
Remember the staging environment that we had setup with AWS Elastic Beanstalk in the last chapter? It assigned you a nice load balancer and a single EC2 instance at the get-go.
For staging environment, that is totally unnecessary. With very little traffic, a load balancer will cost you an unnecessary amount of money on top of the EC2 instance. Switch your staging environment type to single instance.

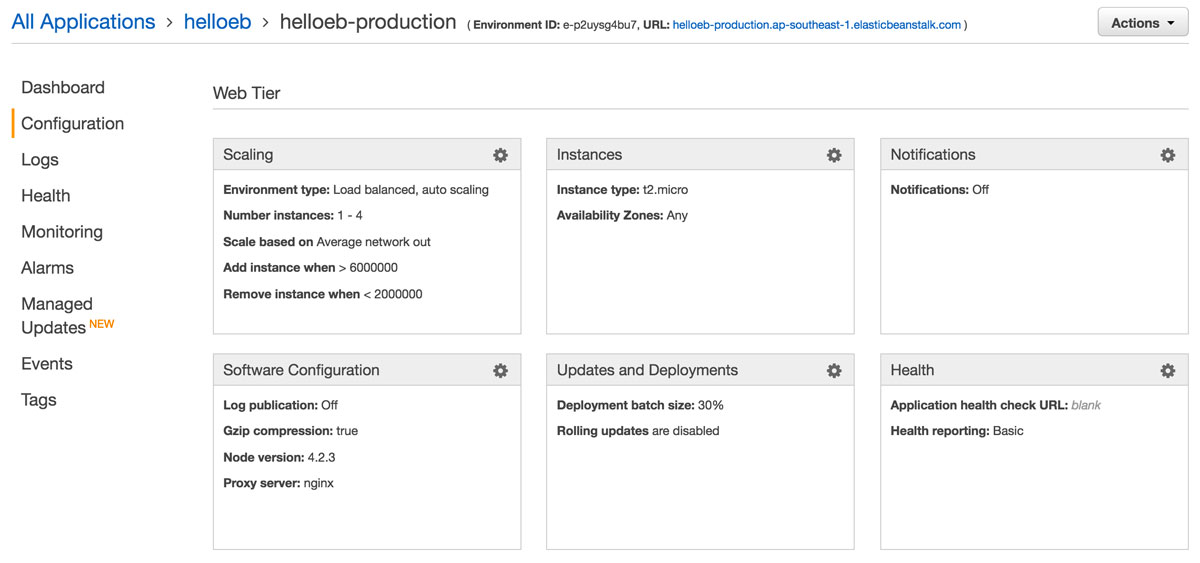
Before you start on this tutorial, you should have already navigate yourself to the Configuration page on the management console.
 Start here!
Proxy server
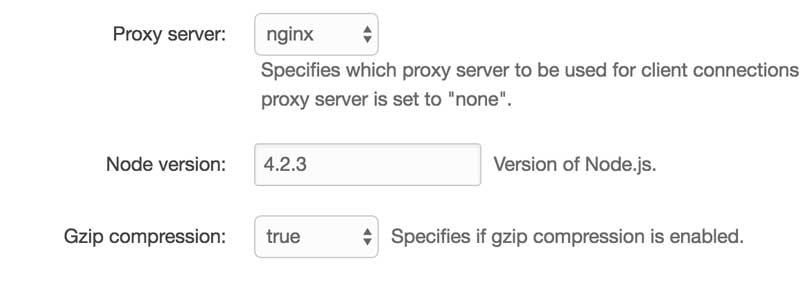
With AWS Elastic Beanstalk, it is very easy to attach a proxy server to your application.
- Go to
Software Configurationtab - Set
Proxy serverto nginx - Set
Gzip compressionto true

Next, in the same tab, set your static files mapping.
Static Files
With proxy server, you can cache your static assets so that you can reduce the amount of requests to the instances.
 Cache your css, js, images and maybe even your templates
Virtual Path - The relative url path which your assets can be assessed. For example, you can access your images at http://{{domain}}/images. The virtual path will be /images.
Directory - The relative file path where your assets actually resides in. For example, my images are actually stored in the .tmp/public folder. The directory will be /.tmp/public/images.
Log Rotation
You can also enable log rotation. The environment will stored rotated logs into a automatically created S3 bucket. In my opinion, the log rotation is pretty much useless because of the cryptic way the log files are named. You are unable to efficiently go through logs of a specific time and date.
However, if you want a last-resort strategy to have any existence of logs, you can enable this option.
Instances
The default instance (t2.micro) provided is purely for developmental work. Since we are expecting higher amount of traffic in production, we should switch to a stronger instance.

- Click on
Instancestab - Switch
Instance Typeto something better
You can see that there are different classes of instances. You can check the full details of each class here: https://aws.amazon.com/ec2/instance-types/
If you are unsure, just go for the t2 instances. They are more for general purposes usages.
Load Balancing
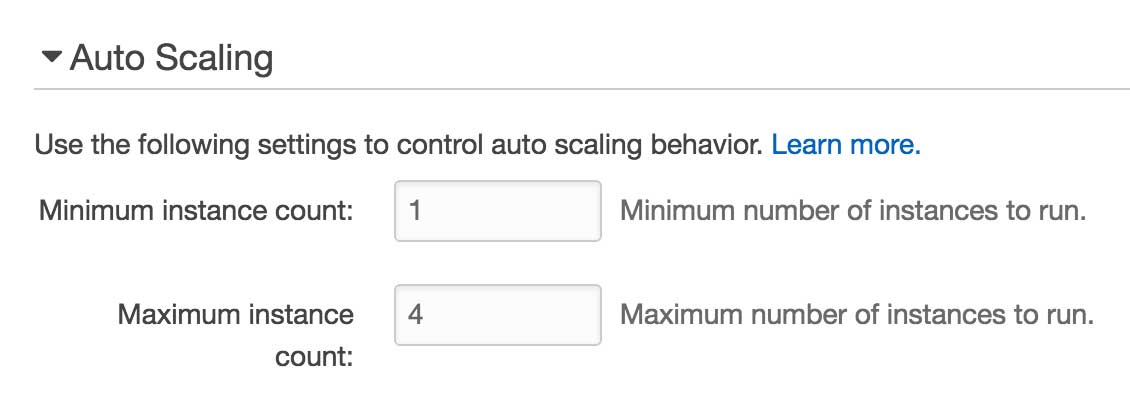
AWS Elastic Beanstalk creates a auto-scale group which help terminates and launched instances. You will need to set the minimum and maximum number of instances to launch.
When the traffic is less demanding, the auto-scale group will terminate instances until the minimum number you set earlier as a baseline.
- Click on
Scalingtab - Set minimum instance to 1 and maximum instance to 4

Take note: This is just a reference. Adjust to a level you deem suitable for your application.
Rolling Updates
In a single-instance environment type, a deployment will cause temporary downtime for your application. That is because the application is only supported by one instance.
For a load-balanced environment, it will still cause temporary downtime if Rolling update service is not activated.
- Click on
Updates and Deploymenttab - Set
Deployment Policyto Rolling - Set
Rolling update typeto Rolling based on Health - Set maximum batch size to 1 and minimum instances in service 1
Conclusion
With this chapter, you had learnt to fine-tune your application to scale. The last thing to note is the cost of scaling. You can increase the scalability of your application as much as you want.
But do you have the pockets deep enough to sustain it? And more importantly, will your application realistically ever need such scalability? So my advice to you will be to try and attain a "good-enough" scalability.
Interested in this AWS Elastic Beanstalk Survival Guide Series, remember to subscribe below for updates
Elastic Beanstalk Survival Guide: Table Of Content
- Chapter 1: Introduction
- Chapter 2: Getting Started
- Chapter 3: How to deploy application on AWS Elastic Beanstalk
- Chapter 4: How to configure AWS Elastic Beanstalk to scale
- Chapter 5: How to map custom domain name for AWS Elastic Beanstalk
- Chapter 6: How to configure SSL for AWS Elastic Beanstalk
- Chapter 7: How to configure a Worker Environment for AWS Elastic Beanstalk

